Home
Meet Beth
Philosophy
Bio
Buzz
Press & Publications
Hire Beth
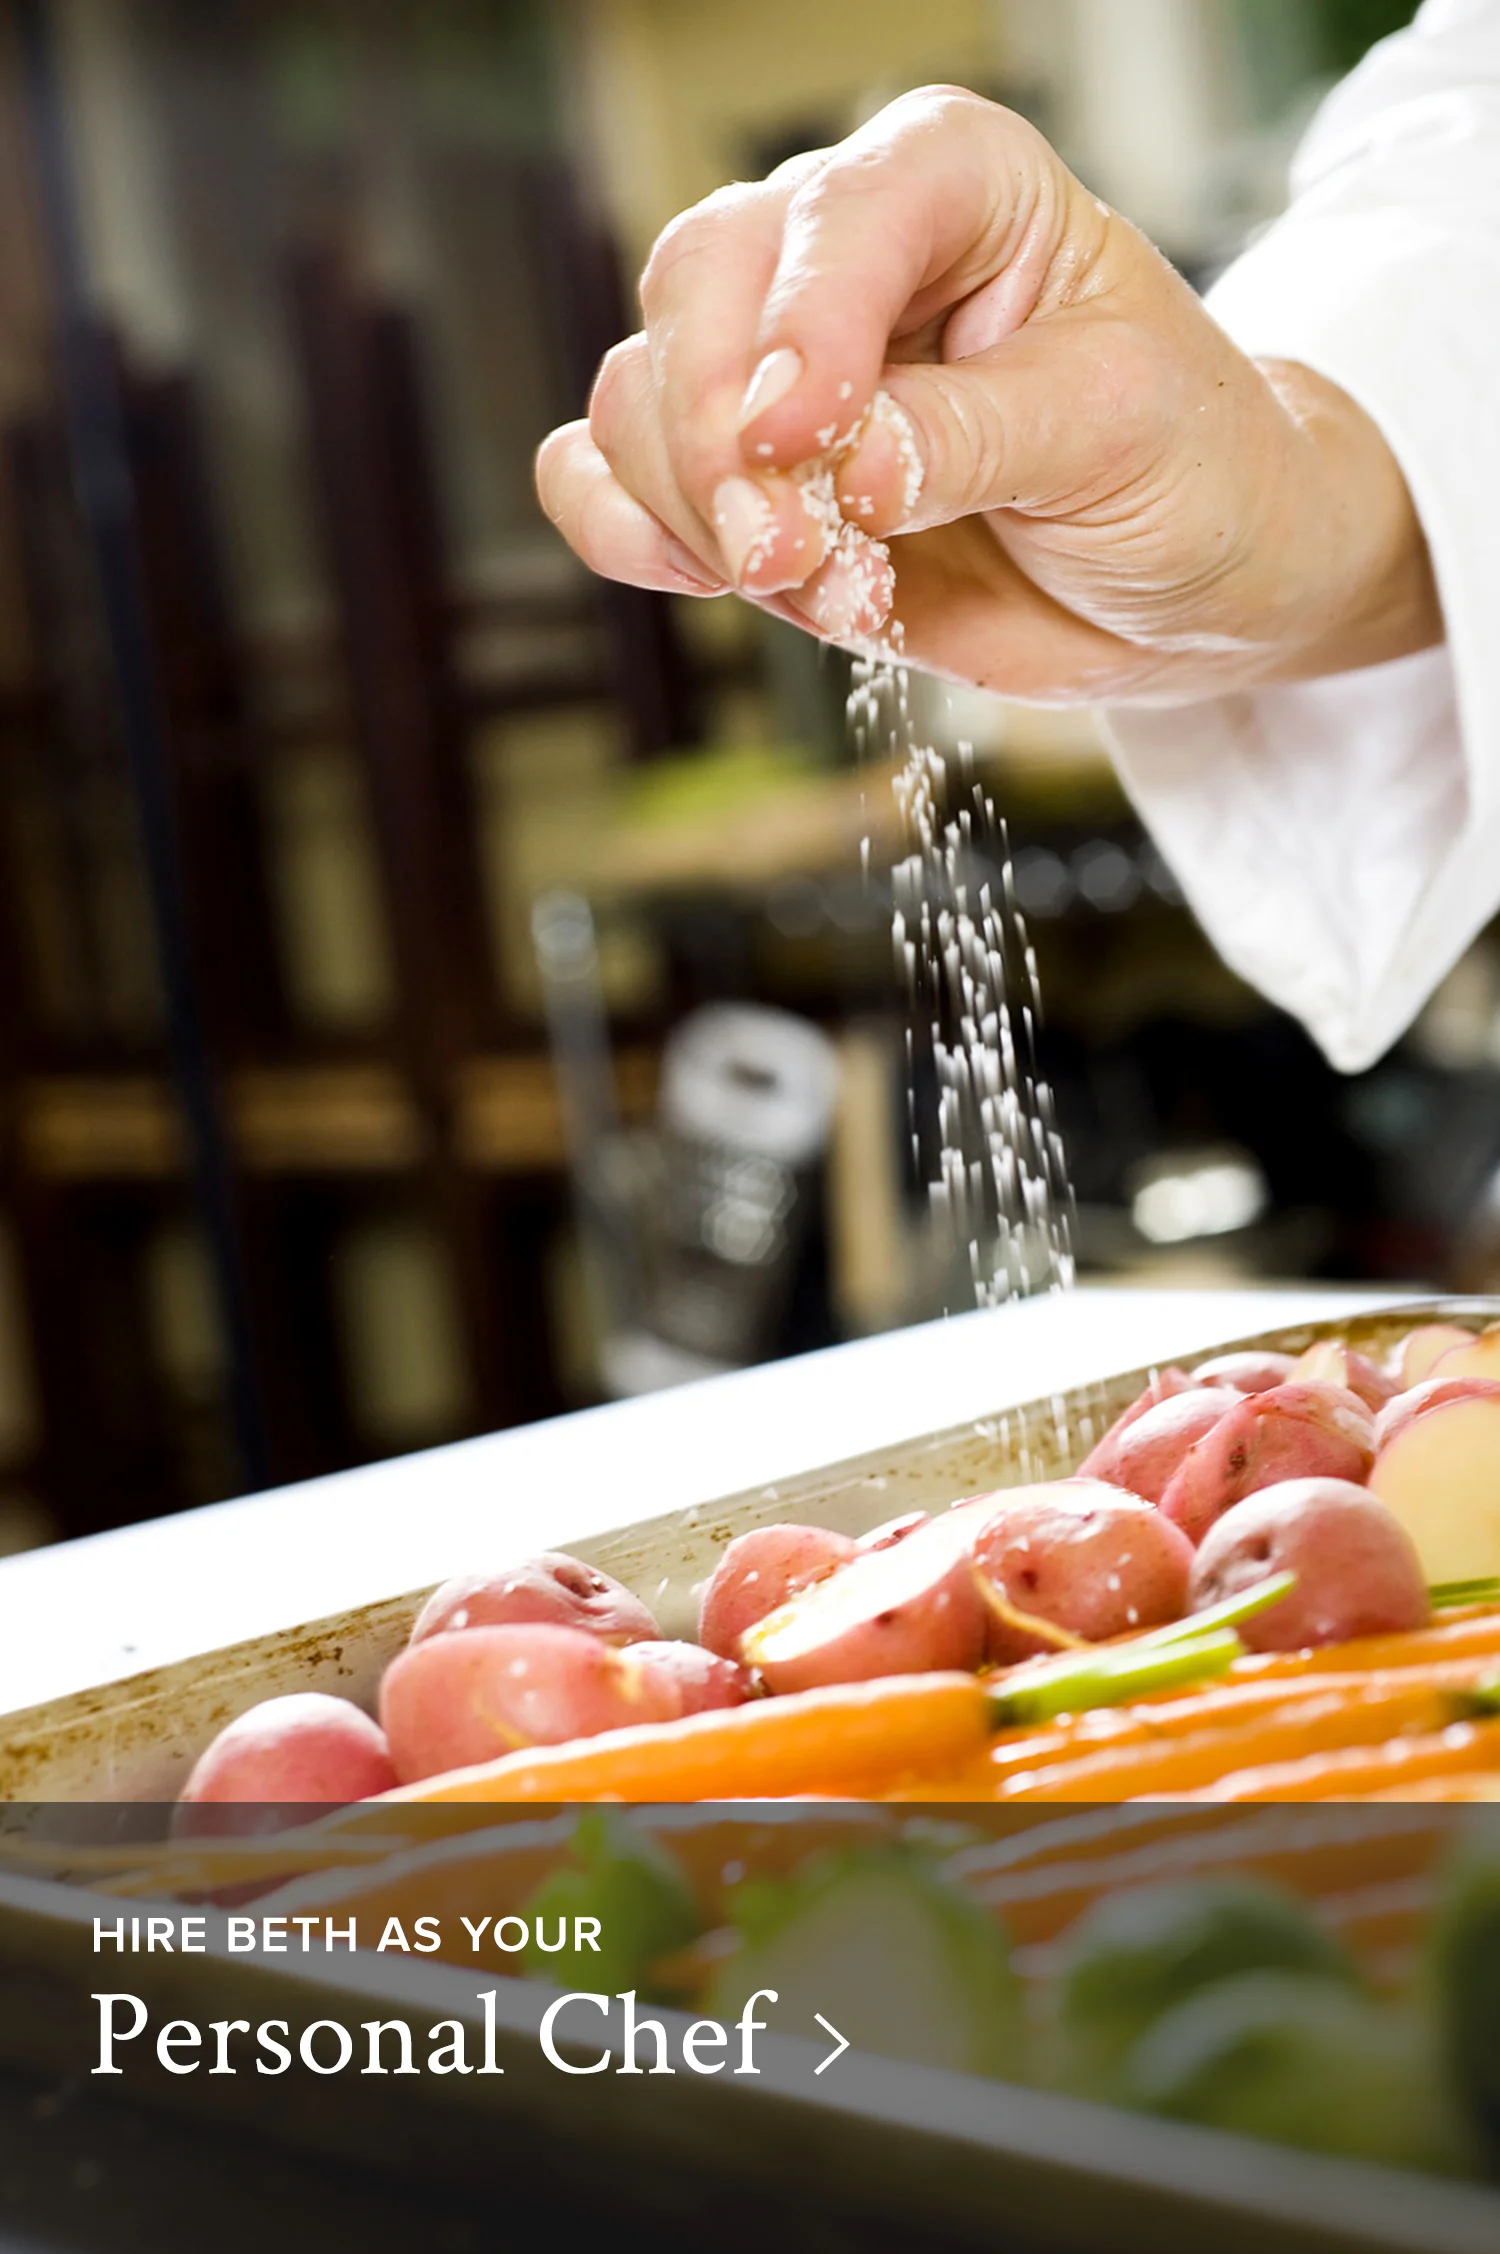
Personal Chef
Private Cooking Classes
Food Styling
Fresh from Beth
How-To Videos
Contact
Menu
Home
Meet Beth
Philosophy
Bio
Buzz
Press & Publications
Hire Beth
Personal Chef
Private Cooking Classes
Food Styling
Fresh from Beth
How-To Videos
Contact
Prev
Next